
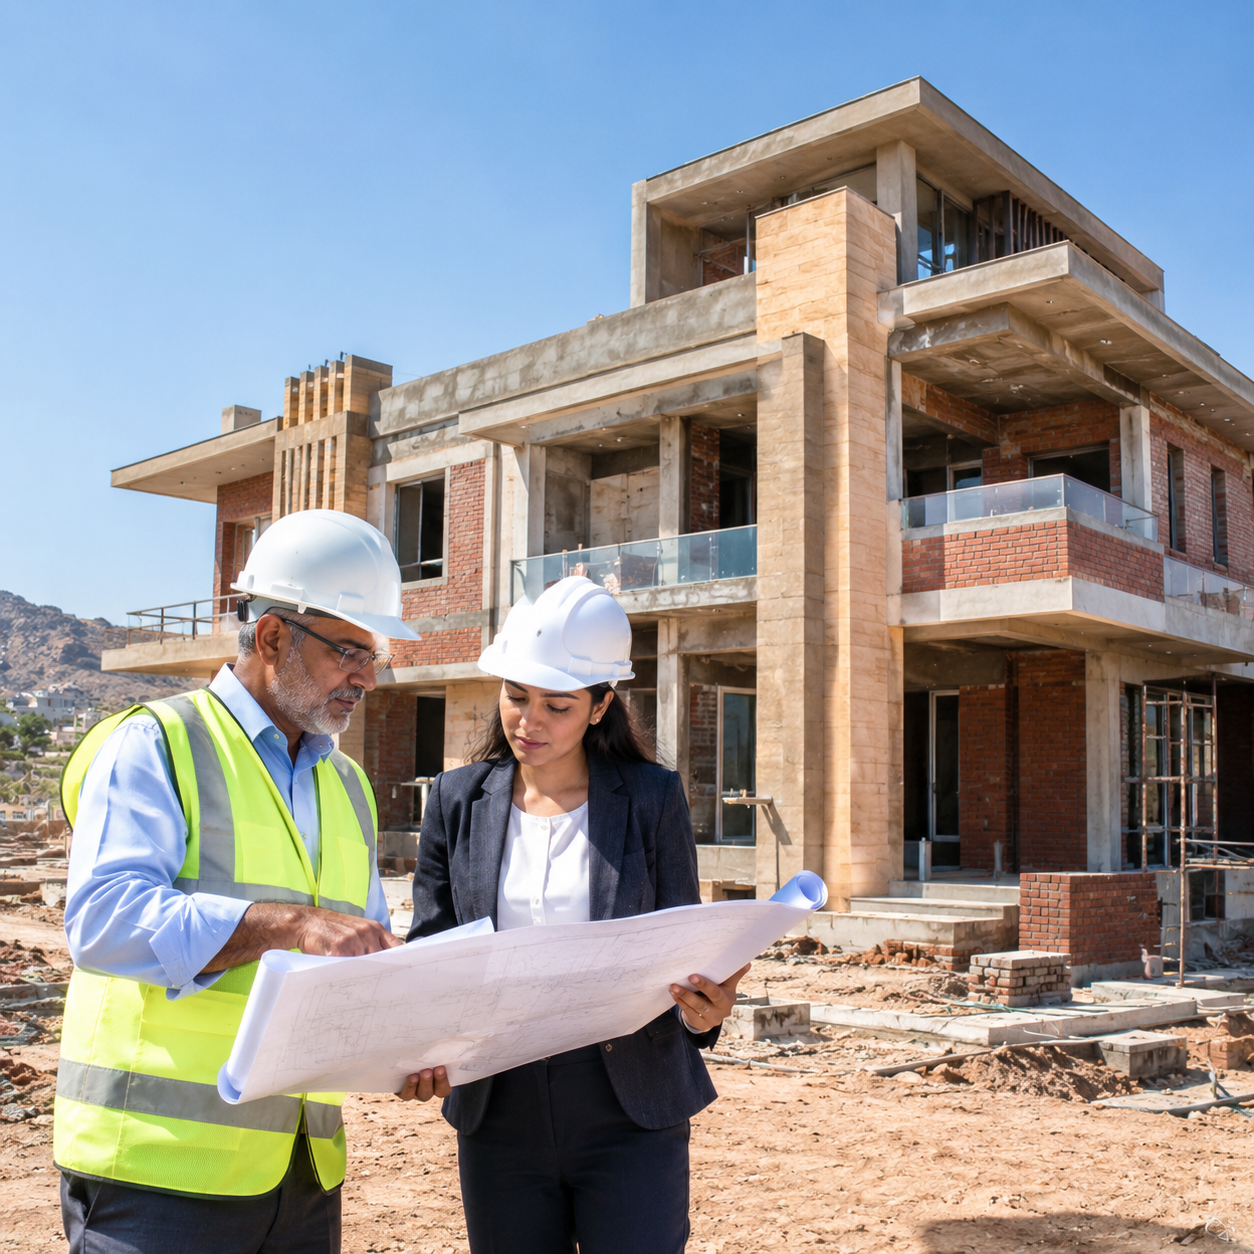
Constructing your dream home in Jaipur is one of the most rewarding financial and personal achievements of a lifetime. Whether you are developing a plot in rapidly growing residential hubs such as Vaishali Nagar, Mansarovar, Jagatpura, or Civil Lines, building a residential structure requires a deep understanding of local soil conditions, municipal regulations, engineering standards, and architectural design principles. Without a structured blueprint, homeowners often face severe budget overruns, uncoordinated labor delays, poor material selections, and structural defects that compromise the safety of their property.
Following a professional house construction guide allows plot owners to navigate every stage of residential development systematically. From initial land boundary surveys and Jaipur Development Authority (JDA) building approvals to foundation excavation, RCC framework casting, and luxury interior finishing, every single step demands technical accuracy. This comprehensive house construction guide breaks down the 10 vital stages required to construct a durable, aesthetic, and climate-resistant home in Rajasthan.
Phase 1: Pre-Construction Legalities, Approvals, and Site Analysis
Before breaking ground or purchasing building materials, thorough site analysis and legal preparation are required. Skipping pre-construction checks can result in structural failure or legal disputes with local municipal authorities.
Step 1: Geotechnical Soil Testing and Boundary Mapping
The first step outlined in any reliable house construction guide is conducting a professional geotechnical soil test. Jaipur features diverse geological profiles across its different municipal zones. For instance, properties in Jagatpura frequently present rocky or gravel-heavy strata, while areas along Mansarovar, Tonk Road, and Ajmer Road contain higher concentrations of clayey or alluvial soil. A soil test determines the Safe Bearing Capacity (SBC) of the earth, which dictates whether your structural engineer should design isolated footing pads, a raft foundation, or deep pile foundations.
Simultaneously, a physical land boundary survey must be performed using digital total station equipment. This verifies the exact dimensions of your plot against the registered title deed and ensures that corner markers align perfectly with surrounding municipal roads. Correct boundary mapping prevents encroachment disputes with neighboring plot owners and ensures that your excavation team works strictly within your legal property lines.
Step 2: Jaipur Development Authority (JDA) Approvals and Building Bylaws
Securing statutory permissions is a non-negotiable step in building a residential home. In Jaipur, building construction is governed by municipal guidelines enforced by the Jaipur Development Authority (JDA). Every residential layout must comply with specific setback parameters (front, rear, and side open spaces), Floor Space Index (FSI) or Floor Area Ratio (FAR) restrictions, height limitations, and parking provisions.
Submitting your architectural plans for JDA sanction ensures that your building remains legally compliant throughout its lifecycle. A fully approved plan protects your property from future municipal notices or demolition orders and simplifies the process of securing home construction loans from nationalized banks and financial institutions.
Step 3: Architectural Floor Planning and Vastu Shastra Integration
Once legal parameters are established, architectural space planning begins. A modern home layout must balance aesthetic appeal, structural efficiency, natural cross-ventilation, and thermal comfort. To explore modern architectural floor plans, visit our specialized Residential Construction Services in Jaipur page to see how spatial design elevates daily living.
In Rajasthan, integrating Vastu Shastra principles into the initial architectural floor plan is highly valued by plot owners. Aligning key functional spaces—such as placing the master bedroom in the South-West (Nairutya), the kitchen in the South-East (Agni), and the main entry or water features in the North-East (Ishan)—during the blueprint stage prevents the need for destructive structural alterations after the concrete framework is already built.
Phase 2: Material Budgeting, Cost Estimation, and Contracting
Financial mismanagement is the leading cause of stalled residential projects. Establishing a detailed bill of quantities (BOQ) and selecting the right contracting model protects your investment.
Step 4: Estimating Raw Material Quantities and Structural Rates
A realistic financial plan is the core of an effective house construction guide. Residential construction costs in Jaipur generally range between ₹1,400 and ₹2,200 per square foot, depending on the grade of structural materials and interior finishes selected. Preparing a itemized Bill of Quantities (BOQ) helps estimate the total volume of Portland Pozzolana Cement (PPC) or Ordinary Portland Cement (OPC), Fe 500D grade TMT steel rebar, coarse river sand or manufactured sand (M-sand), and high-density bricks or AAC blocks required for the build.
To ensure long-term structural safety against extreme summer heat and seasonal rains, all primary raw materials must comply with national safety benchmarks published by the Bureau of Indian Standards (BIS). Procuring certified structural materials prevents premature concrete deterioration, surface efflorescence, and internal rebar corrosion.
Step 5: Choosing Between Turnkey Packages and Item-Rate Contracts
Selecting how your project will be executed is a critical decision. In an item-rate labor contract, the homeowner must personally source every building material, coordinate daily vendor deliveries, manage site security, and supervise multiple independent labor crews. This model often leads to material wastage, uncoordinated schedules, and unexpected price escalations.
Conversely, partnering with an established firm through fixed-price turnkey contracts offers complete financial security and peace of mind. Under a turnkey contract, the builder manages architectural design, material procurement, civil execution, and quality control within an agreed-upon fixed budget. You can review itemized material options and structural specifications on our dedicated Turnkey Construction Packages page.
Phase 3: Substructure Execution and Core Framework Construction
The civil execution phase transforms architectural drawings into a physical structure. This stage requires rigorous engineering supervision to guarantee load-bearing capacity.
Step 6: Site Excavation, PCC Leveling, and Anti-Termite Treatment
With structural drawings finalized, heavy excavation machinery digs the foundation pits to the specified depth. Once the excavation reaches stable strata, a layer of Plain Cement Concrete (PCC) is poured at the pit base. The PCC bed creates a level, non-porous surface for placing foundation steel reinforcement grids.
At this stage, applying a comprehensive chemical anti-termite treatment is essential. Treating the soil beneath the foundation and along the plinth perimeter with specialized termiticide creates a protective barrier. This prevents subterranean termites from migrating upward into wooden door frames, kitchen cabinetry, and interior wardrobes in the future.
Step 7: Reinforced Foundation Footings, Columns, and Plinth Beams
Upon the cured PCC bed, civil engineers install tied steel rebar mats for isolated or combined footings according to structural drawings. Vertical column starter bars are positioned and anchored to carry vertical loads from upper floors. High-grade concrete (typically M20 or M25 mix) is placed into the footing forms and compacted using mechanical needle vibrators to eliminate air pockets.
After the foundation footings are backfilled with clean soil or coarse gravel, plinth beams are cast around the entire building perimeter. Plinth beams tie all vertical columns together, distribute structural loads evenly across the foundation, and protect the ground-floor brickwork from ground moisture. A damp-proof course (DPC) layer is then applied atop the plinth beam to prevent capillary action from pulling ground dampness up into internal walls.
Step 8: RCC Slab Casting, Beam Reinforcement, and Water Curing
As vertical RCC columns rise to floor level, formwork and shuttering plates are erected for beams and roof slabs. Civil engineers inspect the shuttering layout to ensure proper leveling, rigid bracing, and correct beam depths. TMT steel rebar is bound according to structural bending schedules, ensuring correct placement of main bars, distribution steel, cranked bars, and stirrups. Electrical PVC conduits and fan box fittings are embedded directly within the slab reinforcement before concrete pouring.
During concrete casting, maintaining the correct water-cement ratio and using mechanical vibrators ensures maximum concrete density. Once poured, the slab must undergo continuous water curing for 14 to 21 days. Ponding water on top of the fresh slab allows the cement to hydrate fully, enabling the concrete to achieve its ultimate compressive strength and preventing thermal shrinkage cracks.
Step 9: Precision Masonry, Lintels, and Dual-Layer Wall Plastering
Once the RCC frame has cured, wall construction begins. External walls are typically constructed using 9-inch red clay bricks or Autoclaved Aerated Concrete (AAC) blocks to provide thermal insulation against Jaipur’s hot summer temperatures. Internal partition walls are built at 4.5 inches to optimize indoor living space. Reinforced concrete lintel beams are cast over all door and window openings to transfer overhead brick loads safely to adjacent walls.
Following masonry work, walls are coated with a dual-layer plaster system. The exterior walls receive a 12mm to 15mm thick sand-faced cement plaster mixed with waterproofing compounds, forming a durable defense against heavy monsoon rain. Interior walls receive a smooth 10mm to 12mm plaster coat, preparing the surface for wall putty and decorative paint finishes.
Phase 4: MEP Systems, Waterproofing, and Interior Handover
The final phase converts the raw civil structure into a functional, comfortable, and luxurious residential home.
Step 10: Concealed MEP Installations, Waterproofing, and Final Polish
Mechanical, Electrical, and Plumbing (MEP) integration begins immediately after wall plastering. Electricians chase channels into walls to install flame-retardant copper wiring, modular switch boxes, and distribution panels. Plumbers lay concealed CPVC pipes for hot and cold water supply lines, alongside UPVC drainage pipes connected to the municipal sewer line or septic tank.
Simultaneously, wet zones—including bathrooms, kitchen utility spaces, open balconies, and the top roof terrace—undergo multi-layer waterproofing. Applying elastomeric membranes or polymer-modified cementitious coatings prevents moisture ingress. Every waterproofed area is subjected to a 48-hour water ponding test to confirm zero leakage before tile installation.
In the final finishing phase:
- Premium vitrified tiles, anti-skid bathroom flooring, or polished Italian marble are laid across all living spaces.
- Sanitaryware, CP brass fittings, modular kitchen cabinets, and internal flush doors are installed.
- Interior surfaces are coated with wall putty, primer, and premium emulsion paint.
- Exterior facades are enhanced with modern louvers, stone cladding, or exterior weather-shield paint.
After deep cleaning, electrical testing, and a final inspection, the completed property is handed over to the homeowner. To learn more about our commitment to engineering quality, visit our About Us and Project Handover Team page. You can also review foundational civil engineering terms on the Wikipedia Building Construction page. For commercial developments or mixed-use properties, explore our Commercial Building Construction Company in Jaipur guide.
Build Your Dream Residence with Total Confidence (Conclusion)
Building a home is a complex journey, but following a structured house construction guide ensures that your project is delivered on schedule, within budget, and to the highest structural standards. Investing time in detailed planning, securing legal approvals, and enforcing strict site supervision protects your family’s safety and secures your real estate investment for decades to come.
Ready to Begin Your Home Building Journey in Jaipur?
Partner with RK Architect & Engineers—Jaipur’s trusted residential and commercial construction firm. We provide complete architectural planning, fixed-cost turnkey execution, and strict civil engineering supervision across Vaishali Nagar, Mansarovar, Jagatpura, and Civil Lines. Contact RK Architect & Engineers Today for a Free Site Consultation!
Frequently Asked Questions
Q1: How long does it take to construct a residential house in Jaipur?
A: Constructing a standard 2,000 to 3,000 sq. ft. G+1 or G+2 residential house typically takes 7 to 10 months, assuming architectural plans, JDA approvals, and material supply lines are managed efficiently.
Q2: Is JDA building approval mandatory before starting residential construction?
A: Yes, securing building plan approval from the Jaipur Development Authority (JDA) or relevant municipal corporation is legally mandatory. It ensures compliance with setback rules, height limits, and FAR norms, while enabling hassle-free home loan processing.
Q3: Which locations in Jaipur are served by RK Architect & Engineers?
A: RK Architect & Engineers offers full architectural design, structural engineering, and turnkey house construction services across all major residential localities in Jaipur, including Vaishali Nagar, Mansarovar, Jagatpura, Civil Lines, Ajmer Road, and Tonk Road.